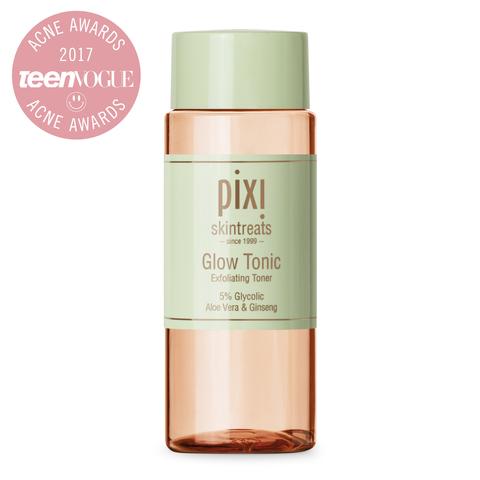
Pixi Glow Tonic

What is it?

My own words: a floral smelling, soothing yet effective nightly exfoliator.

Pixi’s website: Exfoliating facial glow tonic™. It helps tone, firm and tighten the skin. It removes dead skin cells for healthier looking skin. For all skin types. Alcohol free

Link To Pixi Website:

Pixi’s Website: GlowTonic

What’s In It?

Heres the short list of important ingredients in my opinion. You can click the link above for the full ingredient list.

  • water
  • aloe juice-soothing
  • glycolic acid-exfoliating/smoothing
  • witch hazel- clarifying
  • ginseng- tones and brightens
  • biotin- keeps skin moisturized and prevents acne

Cost and Retailors

  • Shoppers Drug Mart stores (unavailable online)- about $20.00 CAN for 100ml
  • PixiWoo site- $20.00 CAN for 100ml, free shipping over $35.00
  • Target- $15.00 US for 100ml

Pros

  • soothing
  • risidual makeup removing
  • gently exfoliates
  • smoothes skins texture
  • prevents breakouts
  • minimizes blackheads and enlarged looking pores
  • no residue

Cons

  • pricey
  • runs out fast
  • strong ginseng floral smell (it does fade though)

Dupes

Sephora- THE ORDINARYGlycolic Acid 7% Toning Solution

Mario Badescu- Glycolic Acid Toner

Bonus

  • alcohol free
  • not tested on animalsGlow_Tonic-100ml-with_Teen_Vogue_large


Quick and Easy Apple Strudel

After a yearly tradition of dragging (he actually happily comes along) my fiancé to the apple orchard, I decided to put those apples to good use! I purposely picked Golden Delicious and Gala apples with the thought that I don’t like to eat them raw so I guess I’ll have to bake them, shucks. I also picked Honeycrisp that are in my opinion the best to eat raw, crispy and juicy sweet.

My father made some apple turnovers the week before using frozen puff pastry so I thought it could work for a fast strudel as well. I wanted to add some flair and flavours from my childhood to the recipe, so I came up with pine nuts and alcohol soaked raisins.

Olivia’s Quick and Delicious Apple Strudel Recipe

Ingredients:

1 package of frozen puff pastry (1 package should come with 2 sheets inside)
3-4 medium apples
1 ½ cups sultana raisins
1 1/2 cups of rum or flavoured brandy
1 cup of chopped nuts (walnuts, pine nuts or pecans)
1 cup of brown sugar
1 cup of fine plain bread crumbs
½ tsp. of salt
1 tsp. of cinnamon
1 egg
Zest from 1 lemon
Juice from 1 lemon

Step 1.

Let the puff pastry sit on the counter to thaw at least an hour before you are ready to assemble your strudel. Place the raisins in a bowl and cover completely with rum or flavoured brandy. I used Wiser’s Apricot Brandy and it turned out delicious.

Step 2.

After an hour of Netflix or napping you can start to make your strudel! Peel and cut the apples into slices so they will lie flat when rolled into the pastry. Places the sliced apples into a big bowl and add salt, ½ cup of the brown sugar, cinnamon, lemon zest, and lemon juice. Drain the raisins well, add them to the apple mixture and mix until incorporated. Set the bowl aside and cover with saran wrap.

Step 3.

Preheat oven to 375 degrees. In a deep pan, mix the breadcrumbs and chopped nuts together. Quickly toast the breadcrumbs and nut mixture over medium heat for approximately 3 minutes or until browned. Make sure to continuously stir the mixture so it doesn’t burn. Remove from the heat and set aside.

Step 4.

Open the puff pastry box and unroll each sheet onto a spread out towel on a flat surface. This towel will help you to roll the pastry into a log easily.

Step 5.

Working on the first sheet of puff pastry, spread half of the breadcrumb mixture onto only half of the puff pastry leaving a 1-inch border empty. This border will be brushed with an egg wash for sealing later on. Take half of the apple mixture and spread it on top of the breadcrumbs. Remember that the filling isn’t going to show so you don’t have to be perfect!

Step 6.

Mix an egg with a splash of water and brush onto the 1-inch border of your pastry making sure not to touch the filling. Taking the bottom edge of the towel with your two hands, flip over the edge closest to the filling away form you to start the rolling process. Continue rolling until the entire filling is inside the roll. With the seam end up, fold and seal over the two ends and crimp with a fork.

Step. 7

Repeat step 7 with the second pastry sheet. Line a large pan with parchment paper. Place both logs onto pan seam side down. Brush entire strudel rolls with the remainder of the egg wash and sprinkle with brown sugar if you’d like. Take a sharp knife and score tiny slits on the top of each strudel. Bake for 30 minutes. Let the strudel sit on the counter until you can’t take it anymore and have to cut into heaven and enjoy!

I’m back <3

I am back to blogging after taking some time off, 3 years to be exact… Something reminded me how much I loved sharing my tips and tricks a long with recipes and DIYs so I am going to try to post regularly once again! Enough talking, let’s get to the food!

So I have been spending quite a bit of time at my nonna’s house and while doing so she thought it would be a good idea to write down a few of her recipes. She also mentioned that she wanted to learn how to make an American dessert, cheesecake, I happily obliged! I have made cheesecake before but I wanted to find a reaallly good recipe so I turned to my best friend, Pinterest, yes yes, Pinteressstttt, you just have to learn how to use it properly. I typed in ” New York cheesecake” and a beautiful photo of luscious creamy heaven topped with strawberries popped up at the top of the list. As I am a Pinterest guru (I like to think), the first posts are usually good links and tried recipes, so I thought I would give this link a try. If you have a pinterest account you can click the link below and it will take you directly to the pin. The Pinterest user has a blog where her recipe can be found and that is BakerbyNature.

Link to heaven: click meeeeee 

Tips (also on her blog)

1. The recipe calls for a water bath, which is when you put the springform pan (that holds the cheesecake) into a deeper pan and fill it a couple of inches deep with hot water so you prevent cracking on the top of the cheesecake. I did not have a big enough pan but it did not affect the taste of the cheesecake.

2. I had some whipping cream in the fridge left over from making a creamy pasta sauce so I decided we could whip up haha some homemade whipping cream! Very easy, all you need is a bowl, hand mixer, some sugar and cream, beat the shit out of it for about 5 minutes and voila, delicious whipped topping!

3. Make sure to beat the sour cream and cheesecake until silky smooth, or else you will get lumps in your cheesecake and the texture will not be smooth and dense.

4. And last but not least, leave your eggs and cream cheese on the counter an hour before you begin so they are room temperature and the cheese is soft, this will allow better incorporating.

Above this post is a picture of my finished cheesecake. It is not the prettiest, but it was damn good. My 85-year-old grandmother was making appetizing noises while consuming so I figured I did a decent job.

This is by far the best cheesecake I have had, other than the cheesecake factory. I tend to put less sugar in the batter because I like to let the toppings do that job. I find cheesecake factory’s cheesecakes to be very sweet, sometimes too sweet, not saying that if you placed a white chocolate macadamia one in front of me I would devour the whole thing. I hope you love this recipe as much as I do! It is definitely going in my forever recipe stash.


Moodstruck 3d Fibre Lashes by Younique

This mascara is not available in stores, so before you fall in love with the results, make sure you find a seller near you or you can buy it directly from the website; https://www.youniqueproducts.com/richardpotvin/products/view/US-1017-00#.VOwGYvaCPCQ 

The price of this mascara is $35.00. Considering the price, I have chosen to only use this for special occasions or nights out. Based on the before you after pictures, you’ll agree it’s quite impressive. I can come close to the same results with two coats and curling using Lancome’s Hypnose Drama mascara but there are advantages. Application is quite straightforward; apply mascara like usual then immediately take the fibre wand and press it agaisnt lashes from middle to tips, then seal with 1 or 2 coats of mascara, repeat if needed. 

Rating : 4/5

Pros

•long lasting 

•soft to touch

•great length and volume 

Cons:

•tricky to apply 

•can make eyes itchy during sleep or if moisture comes in contact with lashes 

Hints:

•apply when you have time. It takes about 10 minutes to apply properly. The kit comes with instructions and there are a few videos on YouTube. I like to keep both containers open while I use it. Make sure you apply the fibers immediately after the mascara so they adhere. And make sure to coat lashes after with mascara to seal in fibers, repeat. Do this before your face makeup because some fibers will fall down during application. 

My photo below is done with two light coats of mascara and fibers. 


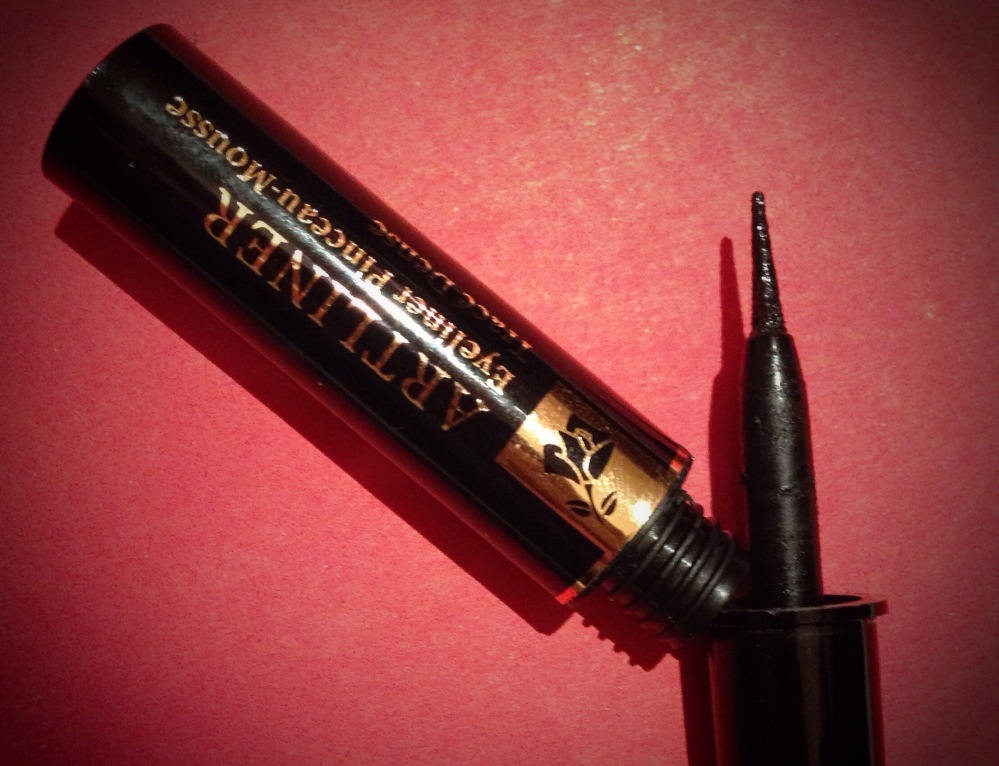
Lancôme Artliner Precision Felt Tip Liner

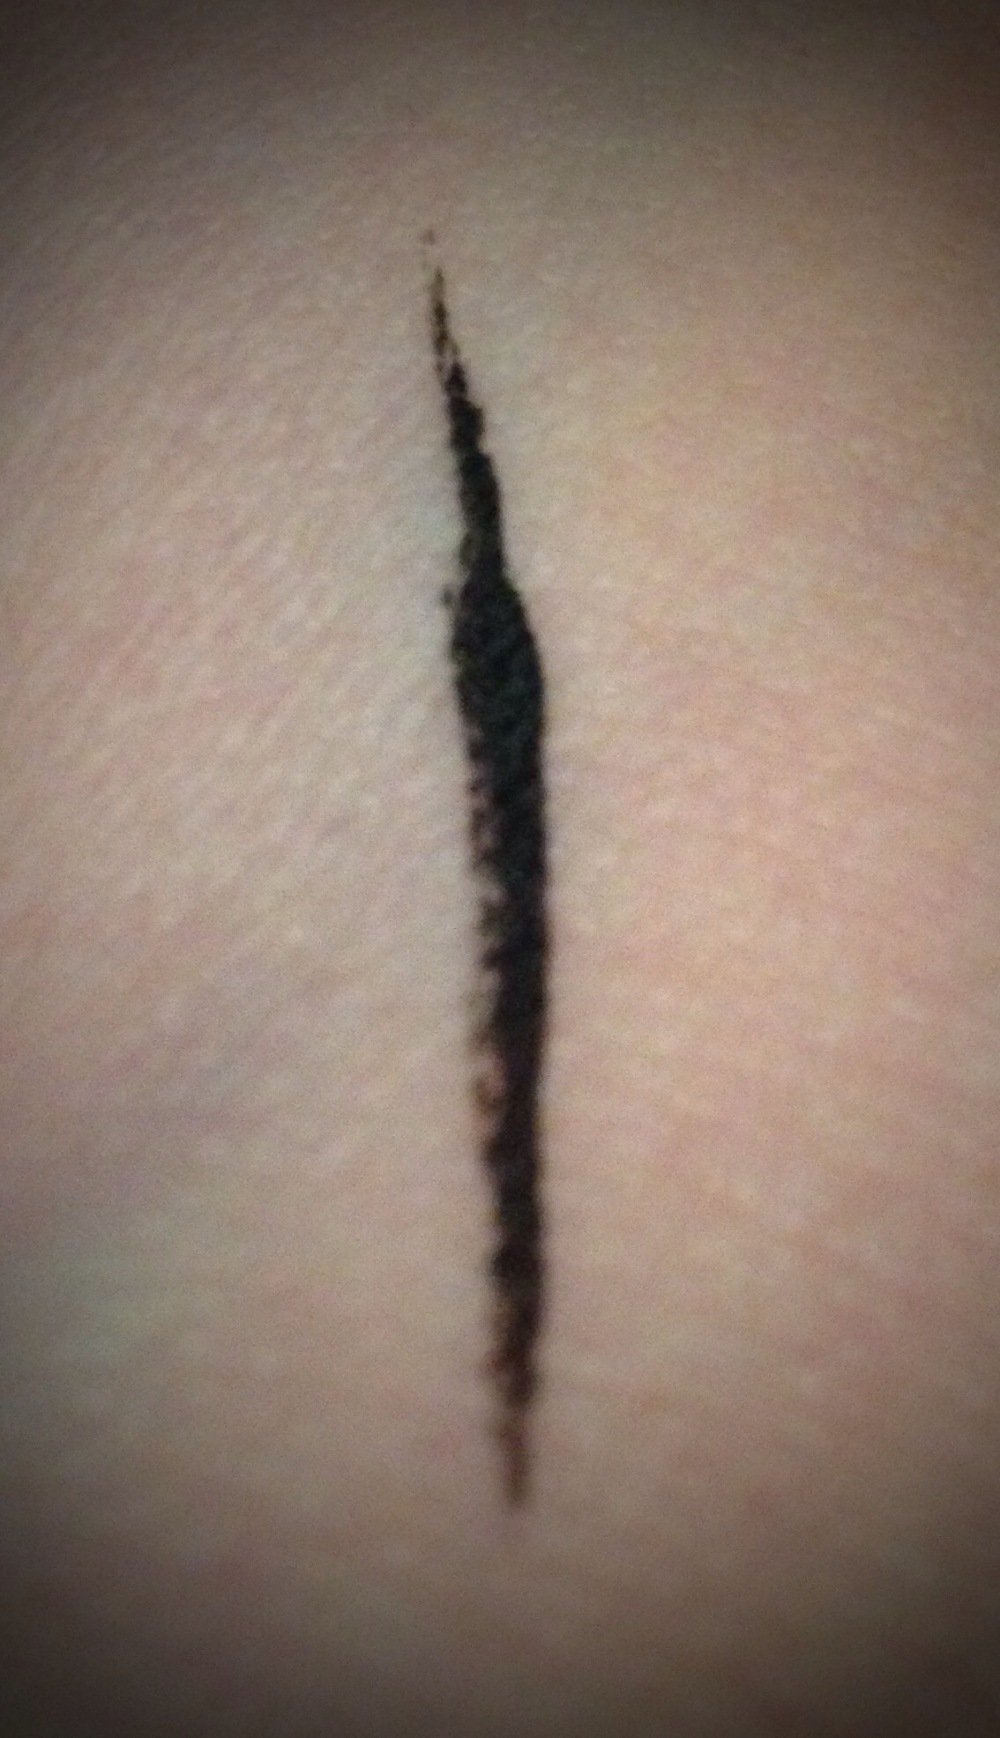
Ahhh my favorite eyeliner ever!! This eyeliner is the best felt tip one I have come across. I’ve tried Revlon, L’oreal, Rimmel etc and have not found a better. Yes, it’s pricey, but it’s worth it. Yes you can buy Revlon for about $10.00 but it doesn’t last as long and it dries out within a month. I have had mine for at least 4 months and it still has not dried out. I use it at least 3 times a week. It has a felt tip point and is liquid. It lasts the whole day with an eye primer and without about 4 hours. It is neither fully matte or shiny, but it is very pigmented and dark. It goes for about $40. The only liner that compares is the Stila eyeliner , which costs around $26. For someone with an unsteady hand (my momma), the Stila would be better.

Rating: 5/5

Pros:

•long lasting
•highly pigmented
•easy to use
•doesn’t smudge

IMG_8414-0

IMG_8416-1

Nars Creamy Concealer

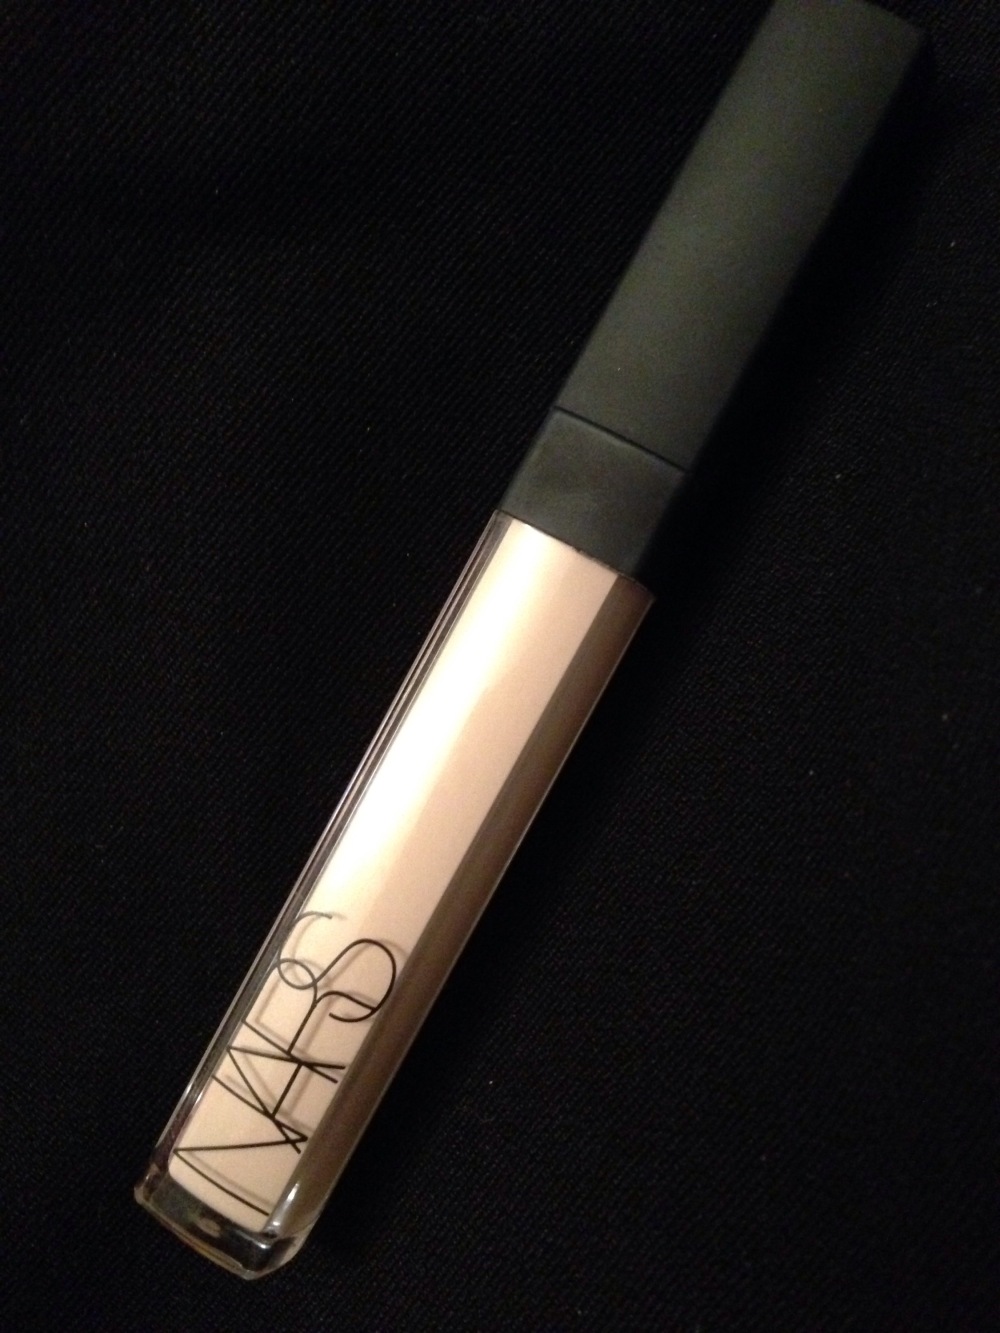
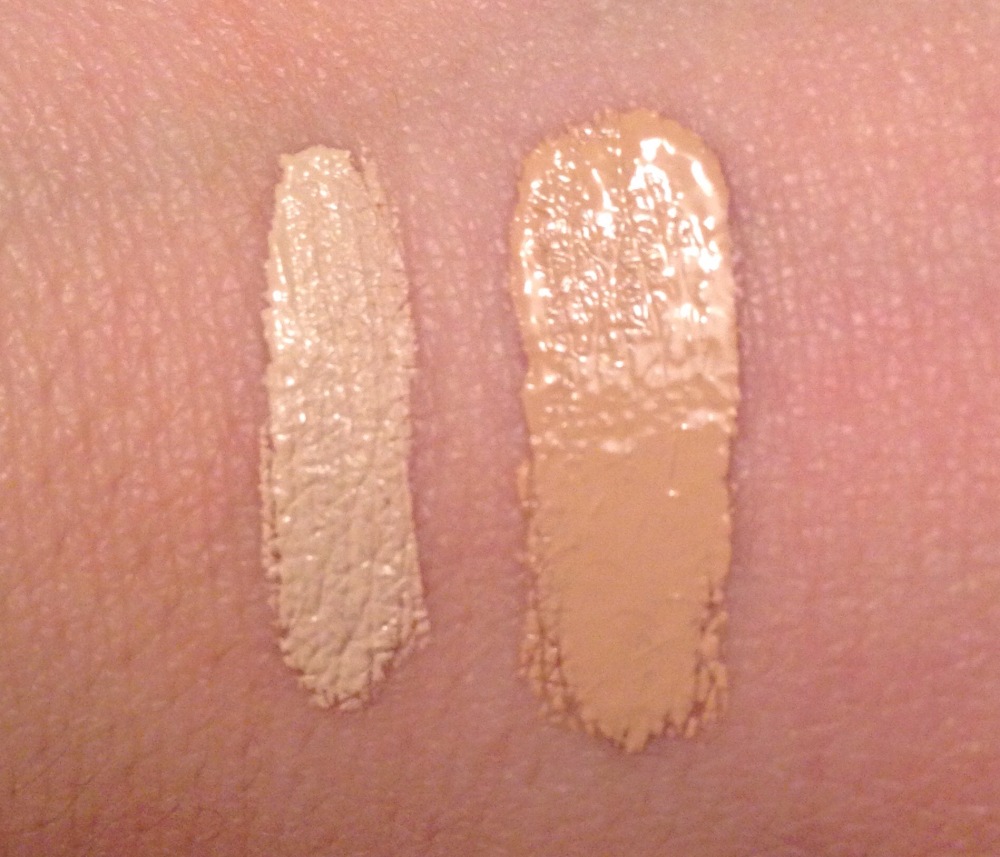
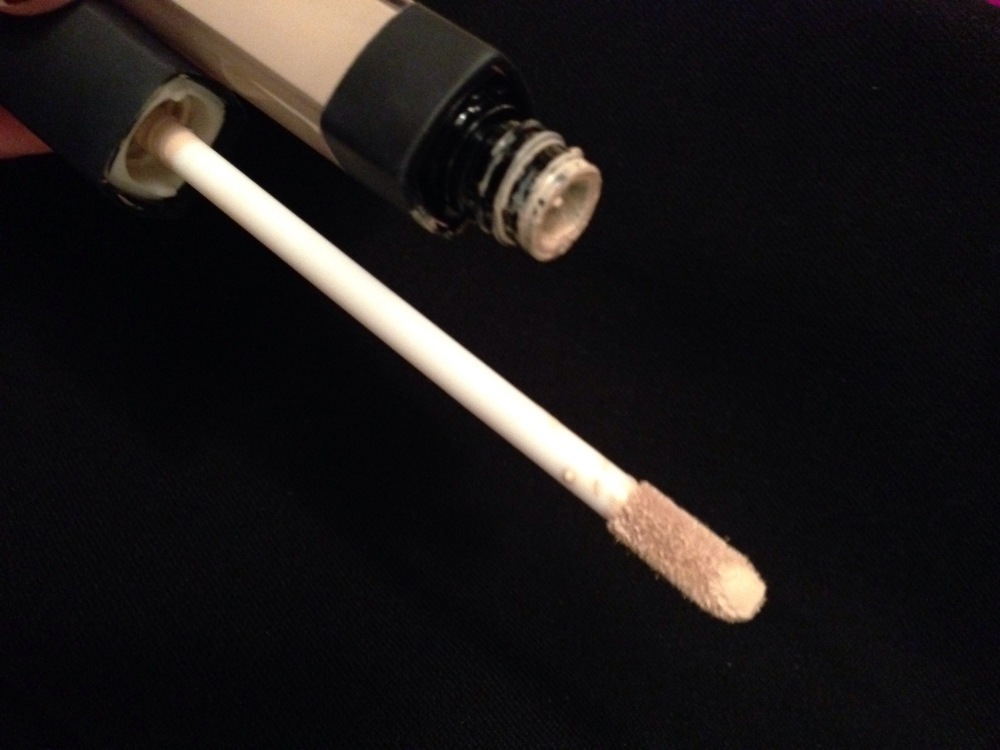
My second review will be about my favorite new concealer, and my only concealer until someone makes a better one!! I bought this concealer from Sephora for about $40. Yes, it’s steep, but once I tried it, I was sold, I would pay $60 for it if I had to! I’ve tried at least 6 concealers and this is by far my favorite one, I also use it for highlighting. The shade I bought is Chantilly, it is the lightest shade. It is a light true ivory, with neither too much pink or yellow undertones. I am normally NW20 from Mac and the second lightest/lightest in other companies. I chose the lightest shade because I am super pale plus I wanted to use it as a highlighter which it’s working amazingly as.

Rating: 5/5

Pros:

•long lasting
•doesn’t settle into fine lines( on top of smashbox photo finish hydrating under eye primer)
•true colours
•easy, clean application
• full coverage without cake

Cons:

• cost

Below you’ll see the packaging with wand applicator. The swatch features Nars Chantilly (lighter shade on left) next to Macs pro longwear concealer in NW20.

IMG_8397

IMG_8400

IMG_8398

Hello world!

My very first blog…. not sure exactly what I am doing but I’ll try my best. Want to share my reviews on beauty, health, recipes and various other products so that you can be aware of whats worth a purchase or not. I will make sure to give you my honest opinion seeing as I am not endorsed by anyone. Please feel free to ask any questions or give any advice/input! I will also list if possible the cost and where items can be purchased;)

My First Review

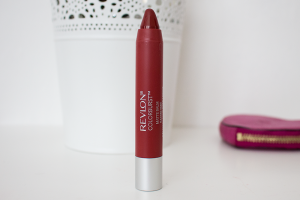
Revlon’s Colorburst Matte Balm- 250 Standout

Rating: 5/5

Pros:

  • intense colour
  • matte with enough balm to keep from drying out
  • true deep blue red
  • easy application
  • long lasting

Cons:

no cons!!!!!

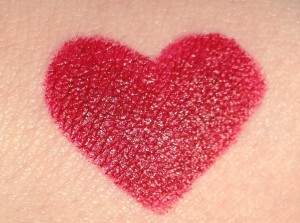
No filter: in direct sun

No filter: in direct sun

No filter: in natural light

No filter: in natural light

Can be bought at any chain drug store

Can be bought at any chain drug store